So first off, these are the items I used to create the bumper...Fabric, batting, measuring tape, rotary cutter or scissors, pins and a sewing machine,nothing crazy.
Next I washed the fabric and laid it out so the right sides were together and there was only one fold at the top. Then marked off all my measurements and got to cutting! These below measurements were just what fit our fireplace so those could be adjusted as needed for any other size you may be working with. Width is completely subjective, I wanted the bumper to be about 4 1/2" to 5" thick just to ensure we had extra cushion for our little man's head and yet was not this huge anaconda size tube chillin' in my living room, so small worked for me.
I am bummed to say I forgot to take pictures for the remainder of my process but here are the next steps:
1. Cut the fabric as shown above and make sure NOT to cut the purple line as that will give you a pretty, no seem front bumper (Just cut 1/2 of the width so instead of cutting 5" like you do on the sides, cut 2 1/2" as the fold will make it twice the width).
2. Make sure it's all pinned before you move it to the sewing machine!
3. Sew all around (Like you would a regular square pillow - again, make sure the RIGHT (Patterned/pretty) sides are together) and leave a 4" gap on each of the sides (The 19" pieces) as that's where you will flip the fabric right side out and where you'll stuff the batting to make it cushioned.
4. Now, roll the batting as tight as you want (The batting will come folded and I left it that way and then rolled it until it was as thick as I wanted and then just took a needle and did a couple hand stitches to keep it in place and did that the whole length of the roll (The length is that 86" I mentioned above)
5. I then cut and rolled the 2 side pieces of batting that would be going into the 19" side pieces
6. Now stuff the long batting into the long fabric sleeve first, this took some time as I had to feed it in and then keep pulling the fabric over it as it was quite long, but I eventually got it!
7. Once your front batting is in, add the batting into the sides and pin the 2 openings closed by doing a simple blind stitch by hand to close them.
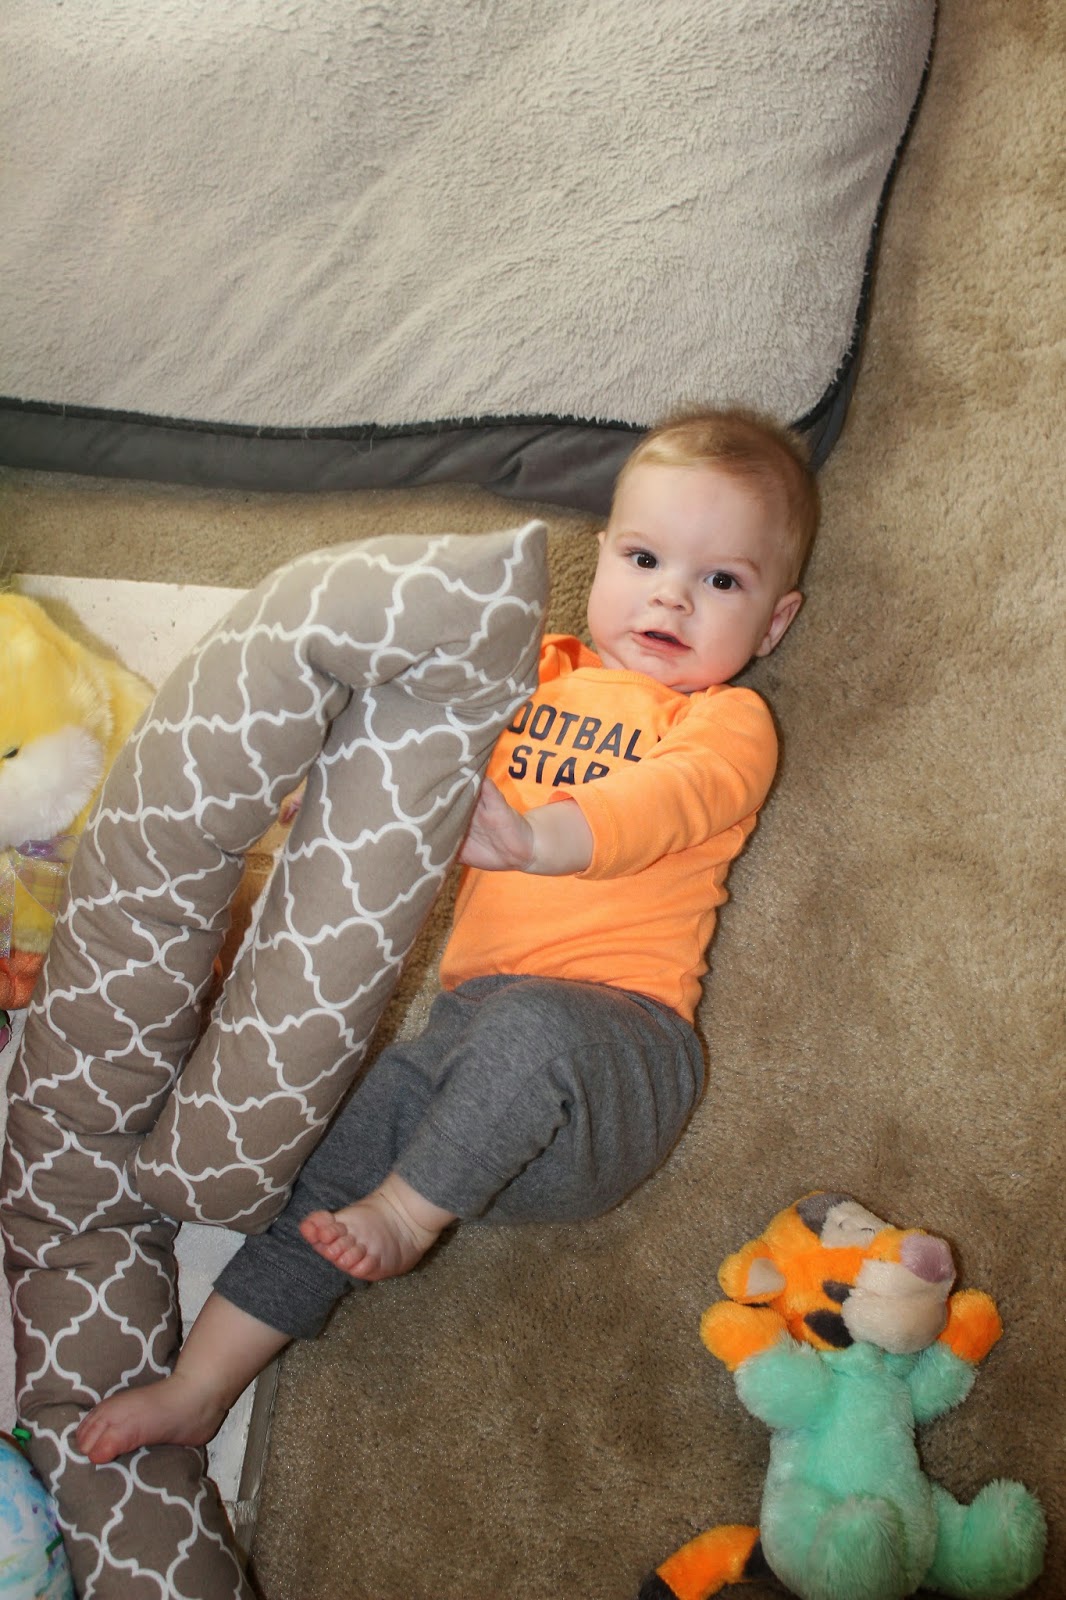
8. I then bought sticky back Velcro and stuck it to the fireplace brick and onto the fabric so that it wouldn't move as prior to that, this happened...
So now after just a few simple steps, VOILA! A nice safe bumper has been created for Greyson and it goes with the decor in our living room which is an extra plus :)
So glad to now be stress free when our little guy is rolling around!


The bumper looks really nice - a perfect guard for little Greyson
ReplyDelete