Saturday, June 20, 2015

9 month update and some water fun!

He was cracking up and thought it was too cute not to post :)
Well 9 months has brought us a bunch more laughs, cardio and excitement all around as his personality is just bursting through like no other. He's very attached to me right now which I hear happens around this 9 month mark but that doesn't make it any easier. Crossing my fingers he grows out of it shortly! His teeth are still trying to pop out so that's been a struggle as well but other than that he's such a fun little man!

Food: He's now eating both the Puffs by Gerber and we just got the OK to start with plain cheerios and he's loving it!
Naps: Same as usual- about 1-1.5 hours long twice a day and 75% of the time he'll take a 3rd 30 minute nap in the late afternoon and then sleeps wonderfully from 7pm to about 7:15am everything morning :)
Milestones:Pulling up on everything even easier now so walking will be here before we know it. He continues to do raspberries all the time which is hysterical (Where you stick your tongue out but you're kind of spitting at the same time...if that makes sense???) 

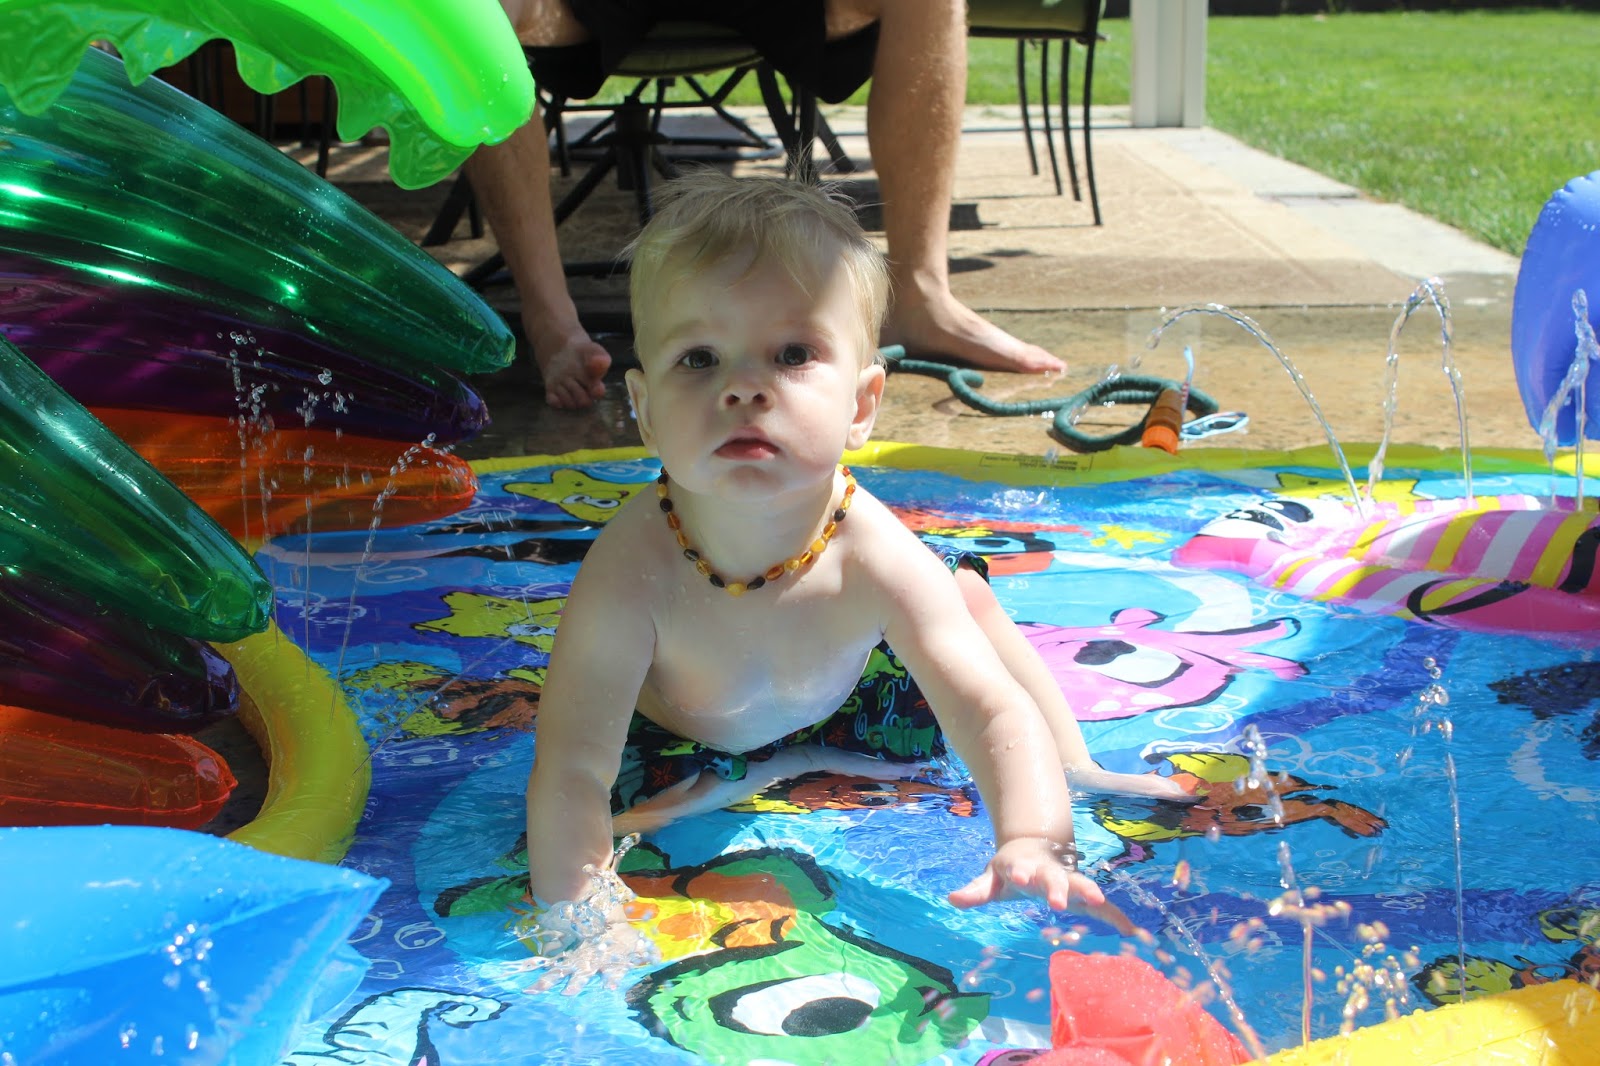
I decided, now that it's getting so hot, that it was time to buy a fun infant water activity play thing of sorts and was happy to find this awesome one called Banzai Splish Splash pool at Target, which is specific for the little ones. It doesn't show on Targets website as its just sold in stores but I did find it on Amazon which I linked above, it's just surprisingly more expensive on Amazon. It does fill up with about of inch of water in the bottom and then it has a bunch of holes to spray out water, along with fun blow up toys, a slide and a nice rainbow for shade. Totally perfect for our 90 degree weather!


This really is a great way to entertain an infant in the summer so definitely check it out over at Target!


Monday, June 1, 2015

Tie Dye DIY cover-ups and/or workout shirt

I thought I'd jump back to my younger years for a minute and see what kind of tie dying skills I could bestow upon all those that view this blog of mine. I mean, since I have all the time in the world, said no Mom to an infant...ever, I thought why not throw this fun messy project in the mix! So here's how my new little project turned out, not too bad!
 I tried out a couple different types of white shirts, the far left is a $2.99 shirt from my local craft store, middle is a basic Gerber Onesie and the far right is a Hanes super soft shirt that comes in a 3 pack at Target. So I started by washing them then did a little different of a design for each.
  • Left- One spiral (technique pictured at the upper right)
  • Middle - Was supposed to be the tiger stripe but ended up being more of just a blend of colors, which I actually really like!
  • Right - Double spiral (Double over the fabric then do the same spinning technique as I shown above)
Mix your dye, per the instructions (I used the Tulip brand) and place 3 rubber bands in a start pattern for the spiral shirts (You should then show 6 triangles in which you'll color 2 triangles pink, 2 purple and 2 teal) and then use 3 rubber bands, for the image I got on the onesie just crumple and fold the onesie in half (Watch this tutorial) and put the 3 bands on a couple inches apart and color it as desired. 
For this shirt style, I cut about 2 inches below the bottom of the sleeve and cut quite a bit more up to the shoulder. I kept cutting more and more as I'd try it on after each cut and it kept looking to bulky, so just cut until its the fit you want. I also cut about 2 inches off the collar plus an additional 2 inches at the chest area to make it lower. Then fold JUST THE BACK of the shirt in half and make as many cuts as you want, do them a little shorter at the top and cut longer strips as you go lower down the back. Then just pull them to stretch them out a little. I then made one cut up the bottom right of the shirt and made a little knot so it would fit tighter.
For this style, cut the collar and the sleeves the same as above BUT after you've done that, flip the shirt over so you're looking at the back and cut the back further in than the front so you have the razor back affect. Now cut straight across from left arm hold to right arm hole so the collar is no longer attached. See the picture above. Then cut the left over razor back into 3 pieces, braid it and run it through the sewing machine to keep it together. Take an extra 2 inch piece of fabric from everything you've cut and sew it to the back color that you've just sewn the braid too. Then wrap it around, over and back around to cover up your stitching. I then did a blind hand stitch to hold this fabric in place. Voila! You're done!

I now have a couple of fun tops to wear to the gym, running errands, working in the yard, going to the beach, anything really when you just need to throw on an easy top and you aren't trying to impress anyone :). These will of course be impressive when you make them, but they aren't so much for a nice occasion. :)

Other than dying a couple of my fingers purple, I'd say this was a pretty accident free project. So with that I will recommend to double up on gloves! But if you happen to dye yourself, nail polish remover and a lot of hand washing got the color out.

Good luck!